It is said that the laziest people take the most pains. At least this is one of the sayings that my
mother used to say when I was a child, however its total absence from common
use in my adult life makes me wonder. I
am lazy in the way that will cause me to go to great trouble to solve a minor
problem. It is very appropriate to my
current garden project.
Last years’ planting was not an unmitigated disaster, but to
call a glittering success would be an outright lie. I think the details of that deserve more
details elsewhere, but the upshot is that something needs to change if my
planting is to be worthwhile.
I first came upon the idea of self watering plant pots in an
article in the permaculture magazine by vertical veg, who in turn got the
idea from rooftop gardens project in Montreal. This was a few years back, I was instantly
taken with the idea and resolved to make one some day.
The need to get my plants out of the penetrating wind that
passes through the garden meant that the best option would probably be
containers on the patio and I’m not sure I can be bothered with all that
watering. So a self watering system called.
Conceptually a self watering system is quite simple. Two containers are place one above the other, the bottom one contains water and the top one contains soil and plants. between them you have some sort of wick to allow the water into the soil without drowning it. If you are going for a genuinely self watering system then you need the water level to be self maintaining.
The example that appeared in the Permaculture magazine used lengths of pipe with holes drilled to make hollow legs that are filled with soil and water allowing it to wick up into the main soil container. Holes have to be cut into the base of the soil container to allow contact between the soil in the container and soil in the water. These should total 5 -15% of the area of the container base. Smaller holes also have to be drilled in the base of the soil container to avoid waterlogging. The bottom of the legs has to be blocked.
My first attempt was a simple two bucket system with no self levelling for the water.

Drill a load of holes in the pipes. I think I used a 5mm drill to make ~24 holes per pipe. You also need to make sure there are some holes in the right place to cable tie it all together.
Drill a load of holes in the base of the soil bucket to allow drainage and air flow.
Cut holes in the base of the soil bucket for the legs.
Connect the pipes to the bucket with cable ties
It would be a good idea to connect something to the open end of the pipe to stop soil going everywhere. I used plastic from a milk bottle, but I would not recommend it.


This is the point at which the head scratching starts. Drilling holes in some pipes and buckets, then cable tying it all together is fairly simple, but plumbing it together without costing a fortune is more tricky. The system set out in the permaculture magazine used push fit plastic plumbing, which is great but it can soon tot up. Also the position of my water butt is no where near my preferred site for the planters.
After much head scratching and looking options I came up with the idea of using water butt taps. This allows a seal with flat or curved container and connection to a hosepipe. which means that all of the water containers can be connected up to create a common water level. This also has the advantage that snap connectors allow you to reconfigure the plumbing without too much trouble.
I wasn't too sure if the snap connectors would weep slightly, which would be game over in a system that is trying to hold the water level. So I also bought some taps that connect straight to the hosepipe. These had the advantage of being very slightly cheaper and not needing a connector.
The next question to answer is how to maintain the level. The obvious answer to this is a ball valve. But a ball valve is indoor plumbing and a hose connector is out door plumbing, which means that if you ask for such a connector in a plumbing shop you get blank looks. The answer again is deceptively simple. A hose tap connector is usually 3/4" thread, but often come with a 1/2" adapter, which is the most common thread for a ball valve.
This may all seem rather too detailed, but none of this was obvious to me when I started. Another point worth noting is that you might expect the internet or big shops would be the best suppliers, but my local hardware shop has consistently been cheaper.
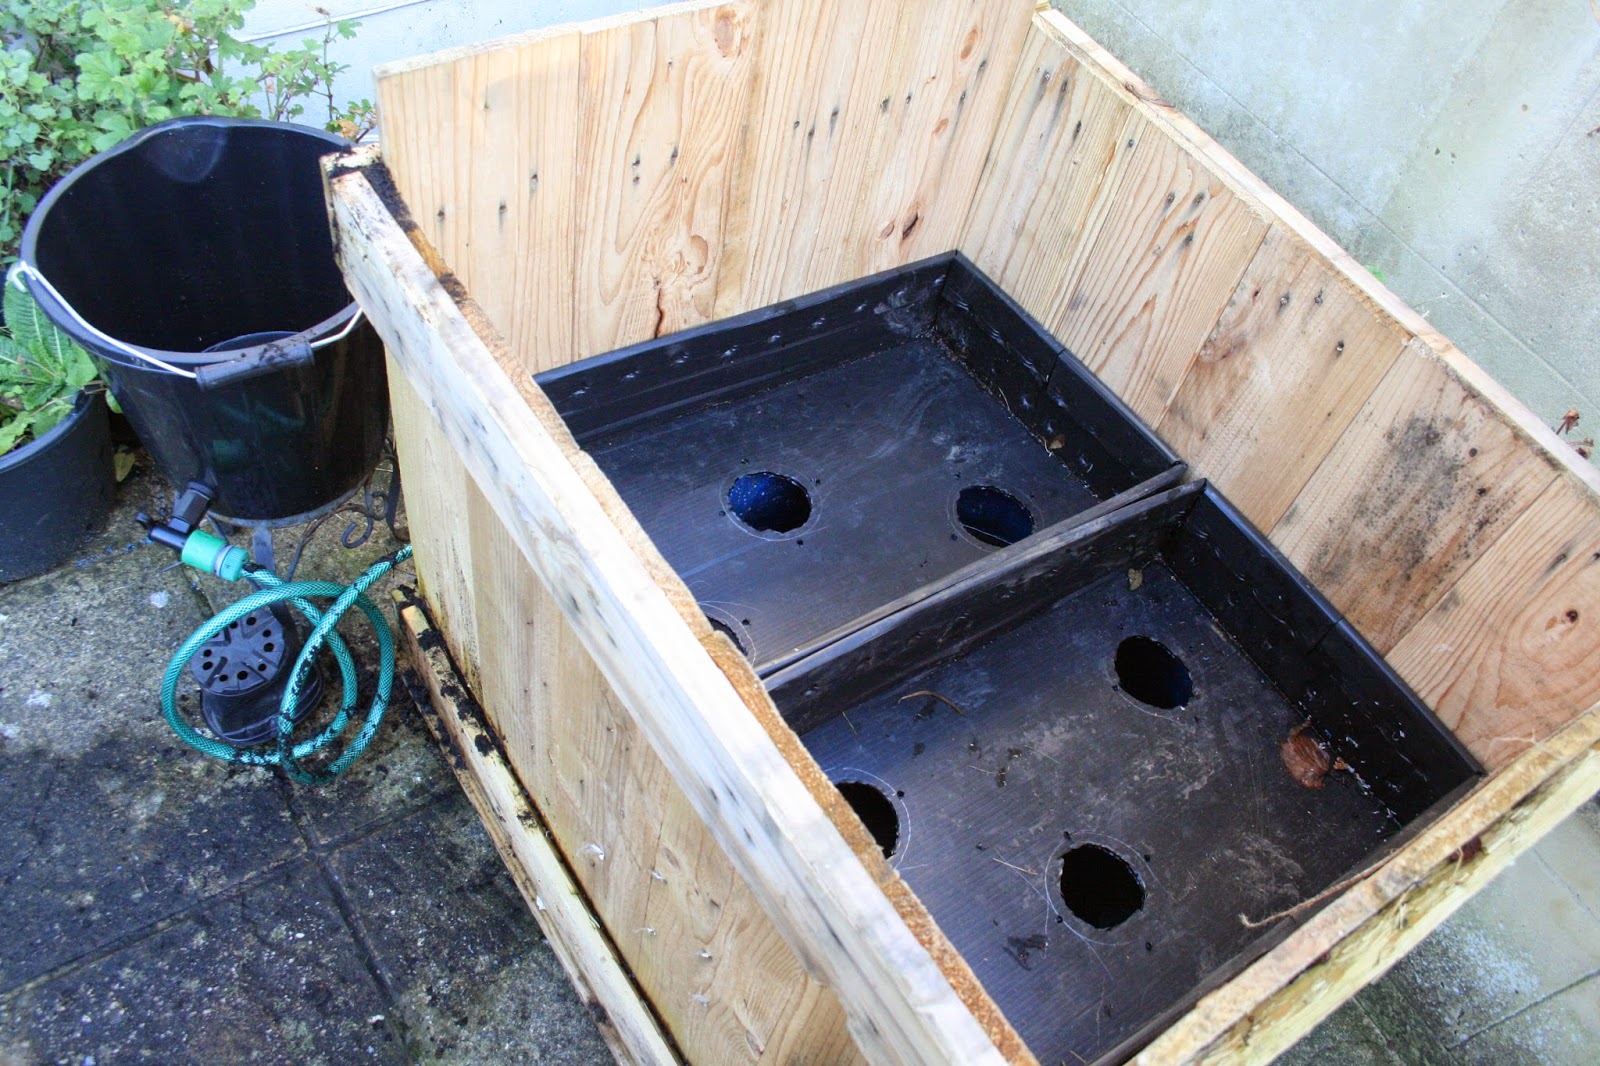
For my full scale system I scavenged some bits from the skip at work. A large plastic barrel has been cut up to form the planter sump and the water leveling pond.
 |
| Legs and soil base for larger container |
 |
| Sump and bucket plumbed together and self leveling. |
 |
| False floor to hold soil |
 |
| Water leveling pond with ball valve |
No comments:
Post a Comment